This week’s newsletter comes after a couple of quiet weeks here on the farm. With August has come rainfall and slightly cooler temperatures, which had us feeling nostalgic for the crispness of fall. One cool day last week, Shayna and I mused about how much we were looking forward to bundling up in our sweaters and rubber boots for the fall harvest, and trading our water bottles for thermoses of hot tea.
Yet, though the summer is on its way to winding down, your baskets are really just getting started – with entire fields of veggies still maturing, you can be sure that there is still an abundance to come! On that note, if anyone out there is looking to get bulk quantities for canning, please reach out to Kathleen. (Just last week we sent out a big box of pickling cucumbers to a customer in Ottawa!)
With the bulk of our heavy labour behind us, we are also freed up to host more visitors at the farm. We would be delighted to have you and your family join us on farm tour and show you how your veggie baskets come to be. Please reach out if this interests you!
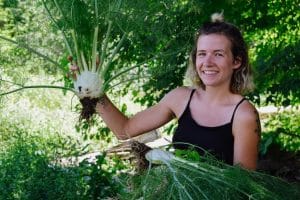
Recently we had our first fennel harvest ever! There I am above, flaunting its giant feathery fronds. This aromatic, licorice-flavoured plant is a member of the parsley family and is native to the Mediterranean region. Like celery, the entire plant is edible and lends itself to a wide variety of recipes. It is an excellent source of vitamin C, fiber and potassium.
Fennel bulb can be roasted or grilled to soften its flavour, its stalks can replace celery in soups and stews, and its fronds can be used as a garnish like dill or parsley – the possibilities are endless! Still not sure what to do with your fennel? This page will take you through 53 different fennel recipes that are sure to spark some kitchen creativity.
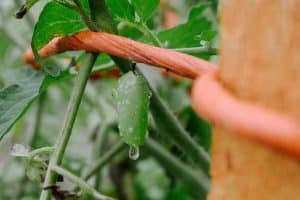
We had two exciting insect sightings in the tomato garden last week, a welcome diversion from staking and tying the plants. Last week’s newsletter featured a Monarch in its caterpillar stage – this week we got to see it as a chrysalid. A monarch will stay in chrysalis for 8-15 days before emerging with its full black and orange colouring. We are so happy to get to share the garden space with these impressive beings!
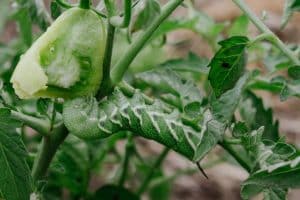
The Monarch isn’t the only creature taking residence amongst the tomatoes. Our other guest, though, is not quite so welcome. We found this beastly caterpillar and its mate devouring the unripe Roma tomatoes. I could not believe its size – the length and width of my middle finger! I used the app iNaturalist to identify it (a mighty resource for other amateur naturalists out there) and found that it is known as the tomato hornworm, larva of the five-spotted hawk moth. Of course, it gets its name from being a notorious pest in tomato gardens, and from the horn-like spike on its rear. Needless to say, we relocated these critters to a spot far away from the vulnerable tomato plants.
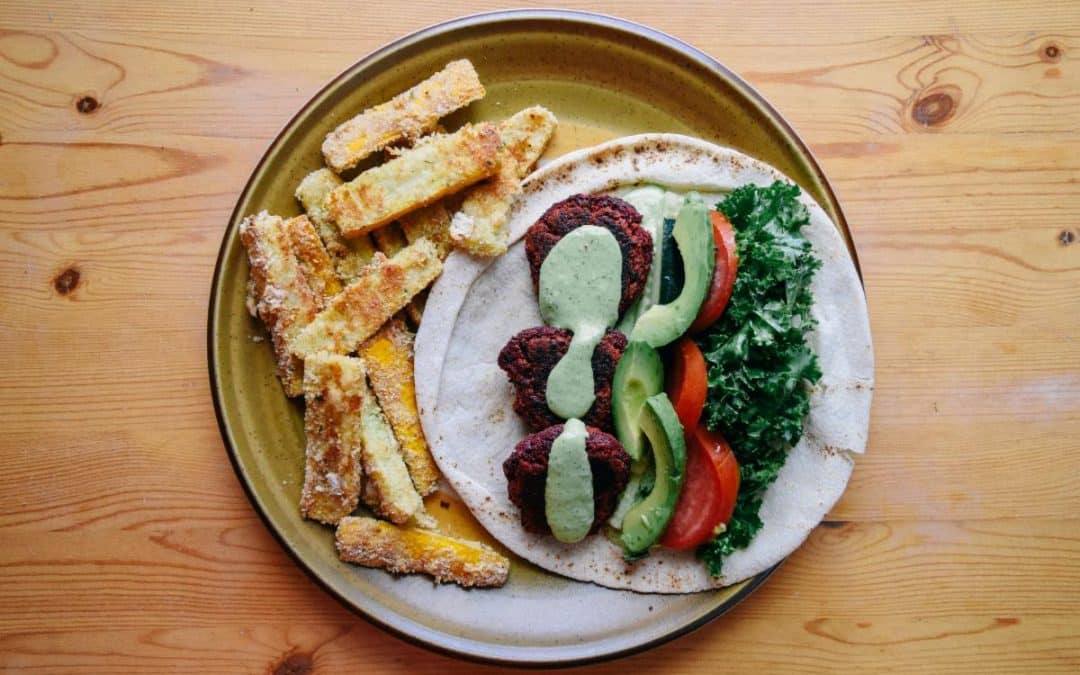
Recipe of the Week: Easy Beet Falafel & Baked Zucchini Fries with Green Goddess Sauce
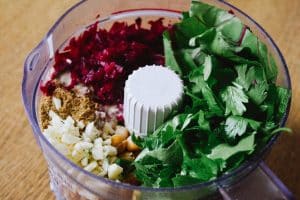
For falafel:
• 3 beets, incl. greens
• 1 regular sized can chickpeas
• 4 cloves garlic, skins removed
• 1 c. loosely packed parsley
• 2 tbsp ground cumin
• 2 tbsp lemon juice
• 1 tbsp tahini
• 1/4 c. flour of choice (I used oat flour)
• 3 tbsp. olive oil
• Salt & pepper, to taste
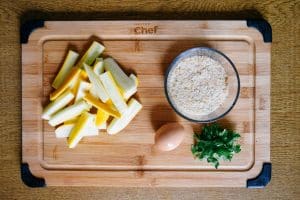
For the fries:
• 2 zucchini, quartered lengthwise
• 1/2 c. Italian breadcrumbs
• 1/4 c. flour
• 1/4 grated parmesan cheese
• 1 large egg, beaten
For the sauce:
• 1/4 c. greek yogurt
• 1/4 c. mayonnaise
• 2 garlic cloves, skins removed
• 2 tbsp lemon juice
• Handful parsley
• Handful mint
• Handful dill
• A splash of water
• Salt & pepper, to taste
How you’ll do it:
Falafel:
1. Heat oven to 375 degrees F (190 C). Add rinsed and drained chickpeas to the baking sheet and bake for 10-12 minutes, or until slightly cracked and dried out. Set aside. This is an important step that will make for crispy falafel! Keep oven on for baking falafel & fries.
2. Shred beets using a grater, transfer to a bowl, and set aside.
3. To food processor, add garlic, parsley and beet greens and pulse to chop into small bits. Then add all other ingredients and pulse for about 15-30 seconds. Be careful not to overmix — the mixture shouldn’t be puréed, just a tacky texture that forms easily when squeezed between your fingers. If too wet, you can dry it out with some oat flour. If too dry, add more tahini or lemon juice.
4. Scoop out heaping 1 ½-Tbsp portions of falafel dough and use your hands to form them into approximately 1/2-inch thick patties. As written, the recipe makes about 16 small falafel or 8-10 larger falafel.
5. Heat a large skillet over medium heat. Once hot, add a good splash of oil. Add as many falafel as will fit comfortably in the pan. Cook for 3-4 minutes, or until underside is browned. Then flip carefully and cook for 3-4 minutes more minutes more. For optimal crispiness, transfer them to the oven and bake for another 10-15 minutes.
6. Extra falafel can be store in the freezer, separated by parchment paper, for an easy future meal.
Fries:
1. Coat a cooling rack with nonstick spray and place on a baking sheet; set aside.
2. In a large bowl, combine breadcrumbs and Parmesan; season with salt and pepper, to taste. Set aside.
3. Working in batches, dredge zucchini in flour, dip into eggs, then dredge in breadcrumb mixture, pressing to coat.
4. Place zucchini onto prepared baking sheet. Place into oven and bake for 20-22 minutes, or until golden brown and crisp.
5. Serve immediately, garnished with parsley if desired.
Sauce:
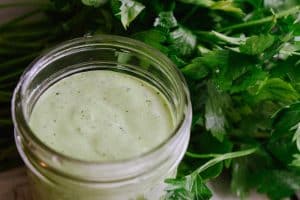
1. While falafel and fries are cooking, pulse all ingredients in a blender until green and smooth. That’s all!
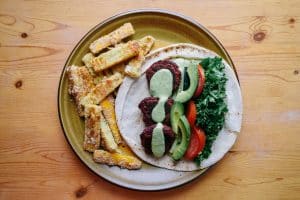
To serve:
Falafel is best served on a warm pita, with any veggies you have on hand – kale, tomatoes, avocado, cucumbers and carrots all work! Add a healthy scoop (or three) of the green goddess sauce and plate with zucchini fries, plus extra sauce for dipping. Voila – a delicious, filling and healthy meal that features a dozen different veggies/herbs/legumes on a single plate. I hope you enjoy this plant-based goodness as much as I did!

